Choosing the Right Tent

Choosing the Right Tent

Choosing the Right Tent

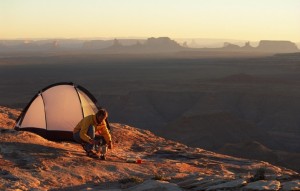
Tents provide you with shelter from the elements such as rain, snow and even wind. Tents also protect you from insects, rodents and snakes. With this in mind, what you want to look for next is how well will you be protected and how much space you will need.

Most tents when they say they are a two-person tent, for example, means two people without their gear. Therefore, if you were camping alone at a minimum you would need a two-person tent for you to have plenty of space for you and your gear.

For family camping trips, you may have sleeping cots you want to use so the tent has to be even bigger to accommodate the cots or even airbeds. You do not want the sleeping cots brushing or bulging out the sides of the tent nor do you want anyone having to sleep with their bodies in contact with the tent sides. Each person should have at least 25 square feet of space. Many tents are low to the ground and require a person to crawl in and out of the tent, so make sure everyone in your group or family can manage this feat.
Choosing the Right Tent

Hikers would want a tent that is lightweight and yet still provides protection from heavy rains, snow and wind. Most tents today designed for hiking and camping are made of nylon and the nylon quality can vary.

The heavier the nylon the greater the protection, but this also makes the tent heavier. Certain tents are guaranteed as waterproof because they use special silicone based coatings on the material and the tent wall is usually single walled which means the moisture inside the tent from your breathing is expelled while the rain is repelled on the other side.

Many tents will have a so-called fly that stretches over the top of the tent to provide a second layer of protection and to help shed water. This type tent is less expensive because the material is not treated as efficiently and moisture may seep in if you make contact or stress the tent wall. The outer covering keeps the rain from pelting the top of the tent however, and allows venting even if it is raining out because many tents will have screened air vents just under the fly.

You want to make sure the tent flooring extends up the walls a few inches making a bathtub shape to prevent rain runoff from seeping in through the floor and wall seams.

Keeping insects out is important so you want to make sure the screening is a good enough quality that it does not tear the minute you stress it. Make sure the zippers have reinforced fabric along the zipper to prevent tearing.

You want your tent to shed water and to break the wind and not be a wind stop, in other words your tent must be designed to where the wind does not blow it over every time it gusts. Dome shaped tents are popular because the winds flows over and around and does not catch the tent itself. You want to ensure once the tent is set up that there are no sags or depressions where snow or rain can collect.
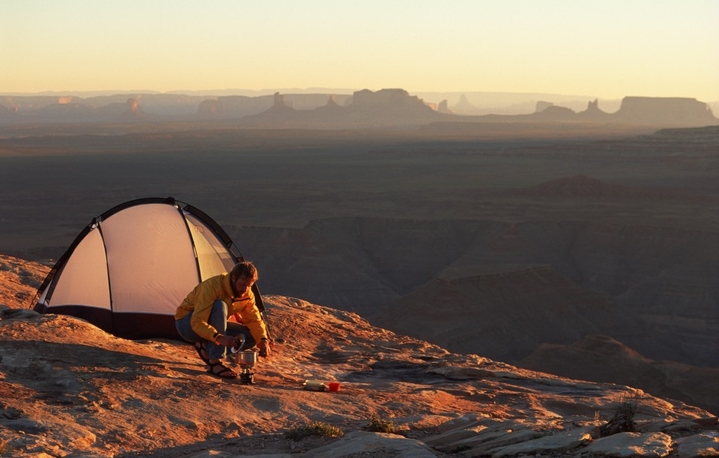
You should inspect any tent before purchasing by going to the camping store to see it set up. Stretch out in it to make sure it is roomy enough for you and your gear. Read the manufactures description closely to see to what extent it is waterproof and if any special sealants are used and can you treat or re-treat the material yourself at some point with a waterproof sealent.

Choosing the Perfect Backpack

Choosing the Perfect Backpack

Choosing the Perfect Backpack

Choosing the Perfect Backpack

Having the wrong backpack can make any hiking or camping adventure miserable. When out in the backcountry, you are living out of your backpack and it will be carrying everything you need for survival, so it had better be up to the job.

One of the biggest mistakes people new to camping and hiking make is it to over pack, and then somewhere along the trail they are looking to see what items they can discard. Most experts will tell that you should not attempt to carry more than 25 percent of your body weight and up to 30 percent if you have been conditioned to carry a pack. For example, a 150-pound person should be able to carry 37.5 pounds and a 200-pound person should be able to carry 50 pounds. Now that you know what weight you can carry, you can begin looking at packs.

However, buying a bigger pack than what you need is not a bad thing, just remember just because you have the room does not mean you have to fill it. It is better to have the option so at some point down the road you can add more items if you need to, leave yourself options and after getting better conditioned you may find you can carry more after all.

These are only approximations and before venturing out make sure you can handle the weight, and remember there is a difference in carrying a pack on flat even terrain versus hilly uneven terrain out in the wilds.

Once loaded the pack should hold the items securely. You do not want a bulky sack banging around on your back and all the items bunched up at the bottom. Your pack should have kidney pads and a waist belt so your hips can help take up the weight and to prevent the pack from hitting your lower back as you move. You pack should have pockets and compartments where various items can be secured so they do not all end up at the bottom.

The pack should have some type of internal frame system so the pack holds its shape once packed. The pack should not extend beyond your body more than a few inches on either side once shouldered and fully packed.

Outer pockets are ideal for maps and water bottles that need to be accessed frequently. You should have straps on the exterior of the pack for securing a sleeping pad and a sleeping bag on either the top or bottom. However, you do not want items stacked so high on the top of the pack that your head hits on the items while walking.

You will want a pack that is waterproof or at least water resistant. Not many backpacks can take being dumped overboard and left in the water if you are rafting or canoeing. You should however expect it to protect your supplies during a rain or snowstorm long enough so you can get a poncho on or find cover.

Fit the backpack before purchasing. If you go to an outdoor store, you can have a pack fitted and typically, weights are added so you know how the pack feels when loaded. There are various sized packs so it is important that it fits well around the shoulders and does not hang below the waist to where it would interfere with walking. Once loaded adjust the shoulder straps and a quality pack will allow you to adjust the straps while the pack is shouldered.

Choosing a Hatchet for Survival

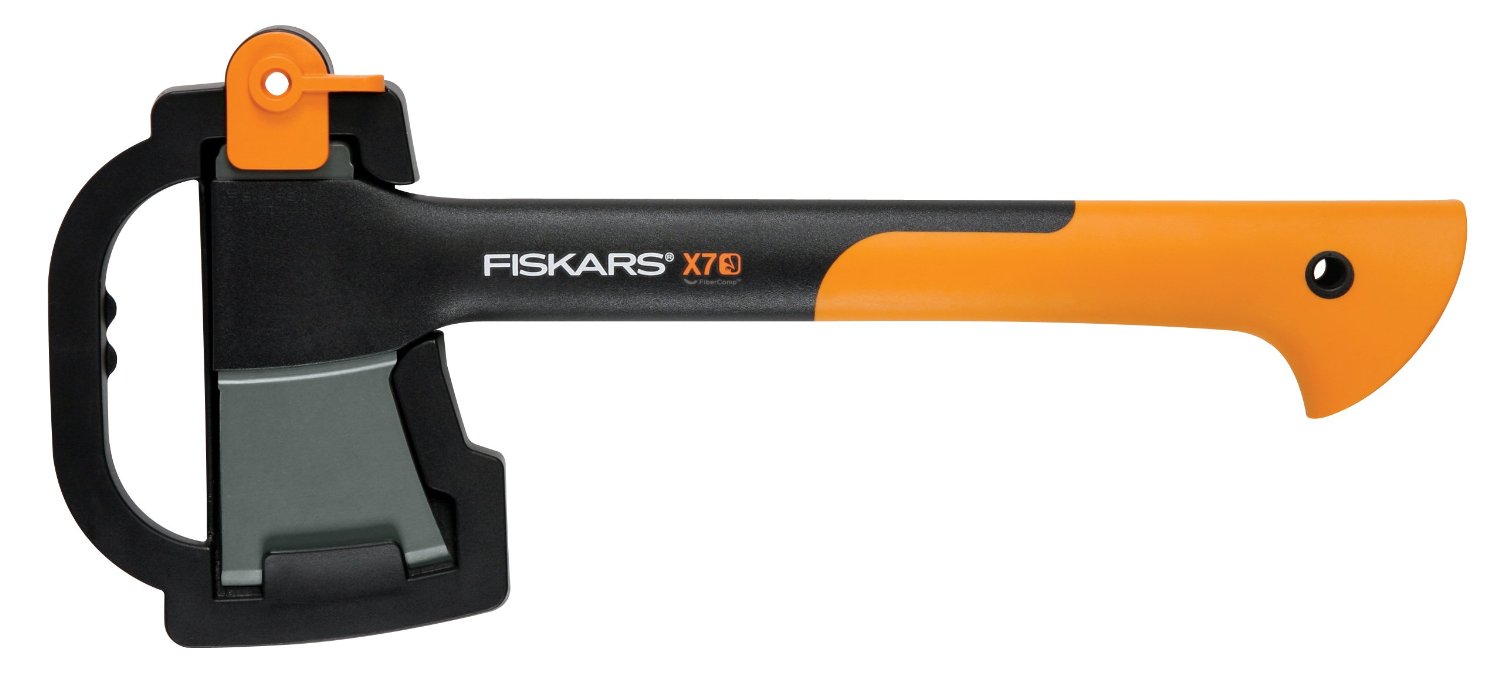
Fiskars Hatchet

Choosing a Hatchet for Survival

Fiskars Hatchet
Fiskars Hatchet

A hatchet or small hand axe is a multi-tool that can be used to cut, chop and hammer if you purchase a traditional type hatchet. The typical hatchet will have a cutting edge and a hammer edge that can be used to hammer nails, break glass for emergency extractions and you can do flint knapping to make arrowheads or even fishhooks. While it is not designed for flint knapping, it can be used for this purpose in emergencies.

In a survival situation a hatchet is indispensable because it can be used to chop wood, or even chop trees down to make shelter, chop through ice to obtain drinking water or to cut a hole for fishing. The striking end can be used to hammer stakes into the ground, smash rocks to make smaller cutting tools or used as a blunt instrument for non-lethal self-defense. The metal of the hatched head can also be used to create a spark for fires if struck with flint/hard stone or you can use with a Ferro rod.

Tactical hatchets while they have a cutting/chopping edge they are typically designed for when you find yourself trapped and have to cut or break your way through a door or even a wall. A tactical hatchet may have slots in the head to shut off gas meters or open the valves on certain oxygen tanks and these are typically carried by first responders or military personnel.

The piecing spike would be used to break through stone, brick, light metal, glass or wood barriers. Typically, a tactical hatchet would be lighter so they are not as useful for chopping larger pieces of wood and most have a straight handle, which can make chopping awkward. The holes in many tactical hatchet heads are designed to lighten the hatchet and do not serve any other purpose. Many of these types are designed for throwing and thus could be considered a self-defense or even a hunting weapon as well.

The typical so-called camp axe/hatchet is ideal for hikers, hunters and campers. You have the cutting edge and hammering edge combined. The shape of the handle is perfect for swinging and delivering blows, and at the same time allowing you to maintain your grip. You can still purchase hatchets with wooden handles and the handle is inserted into the hatchet head. Some prefer wooden handles and others like fiberglass or even all steel handles.

Obviously, a wooden handle will require maintenance to keep the wood from drying out and cracking. If you buy a quality product however, there is no reason why a wooden handled hatchet would not last you a lifetime. Note how the wooden handle is inserted into the hatchet head in the above picture. This means that over time, the head may loosen but on the other hand, you can change handles if you break or splinter it or it otherwise becomes unusable. A one-piece hatchet if for some reason you damaged or broke the handle it would be difficult if not impossible to repair.

Before buying a hatchet, know what you expect it to do. If you are a hiker or camper your hatchet will be expected to chop wood, cut rope and hammer in stakes and in some situations it may be needed for digging holes if you need to search for water or extract edible roots from the ground.
For bug-out-bags, or home emergency kits a traditional hatchet would be ideal as tool for cutting, chopping or even to help extract you from a damaged building. A tactical one is ideal if you are looking for a self-defense weapon that can also be used for chopping, cutting and for making, an emergency egress or used for rescue operations.

Survival UST 30 Day Lantern

Survival UST 30 Day Lantern

Survival UST 30 Day Lantern

Survival UST 30 Day Lantern

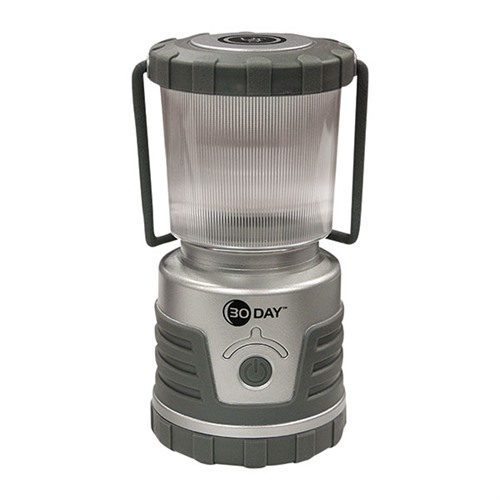
The UST 30-Day Lantern does what it advertises, and anyone would be hard put to find a better battery operated light. The green LED indicator flashes every five seconds so when you do find yourself in the dark you can at least find your lantern. The low mode while not adequate for tasks that require a strong light it does provide enough ambient light to even read by so the room is not in total darkness and you will be surprised at the amount of light you do get on low.

The low setting means the batteries will last for 30 days making this lantern ideal for marking trails or doorways in the home once the power goes out. Just turn it on and let it go and expect up to 30 days of use on the low mode.

The UST 30-Day lantern can be used in virtually any situation inside or out. Make sure you have one in your vehicle so you can alert other motorist you are along the side of the road. Use it for light while working on your vehicle as well. On high, the light is more than adequate for any task that requires a strong light and it can be hung overhead upside down to direct light downward or stand on its own so you have both hands free. The globe is removable so you do have versatility to adapt to any situation.

You can read using the light on the low setting, which makes it ideal for reading a map or even directions on camping or hunting trips. It is comforting to know that on low you have 30 days of use, because if you do become lost or stranded a good signal light may make the difference between surviving and not. The SOS flashing mode is ideal for boaters, hunters or campers that find themselves lost and need to signal rescue personnel or in need of assistance while boating. Hang the lantern upside down inside of a tent and leave it on so you or others can always find the tent in the dark.

The UST 30-Day Lantern is ideal for home emergency kits, car emergency kits and for camping hiking and hunting.

More information: Survival UST 30 Day Lantern

Vehicle Essentials for Summertime Travel

Vehicle Essentials for Summertime Travel

Summertime heat can be hard on a vehicle. The engine is prone to overheating, and tires can be affected by the heat as well. This means if you are traveling in the summertime you may experience a vehicle breakdown on a desolate stretch of highway. The summer heat can be dangerous to you as well. Dehydration is a very real possibility in the heat and you must prepare yourself as well as your vehicle.

Essentials for Your Vehicle

Even if you only commute, a few miles to work you never know what might happen. You might decide to take a shortcut or for whatever reason you travel somewhere else. You need to be prepared, for a breakdown or an accident, involving wildlife or you simply run off the road and your vehicle becomes disabled. To survive a few hours or a few days in the summertime heat you need to be prepared. The following is a list of essentials everyone should have in their vehicle for summertime travel.

• At least three days’ supply of water and calculate the amount using the one gallon/four liters recommendation for each person daily. The average person needs at least two quarts/liters daily just for hydration and if you are sweating profusely you may need up to a gallon daily to maintain fluid levels in your body
• Food for 72-hours such as protein bars, MRE’s, trail mix and/or peanut butter and crackers
• Coolant for the radiator and avoid using water for coolant. Water boils at a lower temperature than radiator coolant. Only use water in the radiator as a last resort
• Quality spare tire and the tools needed to change tires
• Tools for roadside repairs
• Duct tape, electrical tape
• Cell phone and charger and have an extra battery
• Maps of the area and a compass
• Signal flags that can be attached to the vehicle and if your vehicle has run off the road into heavy vegetation place signal flags where the vehicle left the road
• Glow lights that can be placed in the back and front windows so the vehicle can be located in the dark
• Work gloves
• Fire starting materials
• Battery operated flashlight
• Multi-tool and a fixed bladed knife

If it is hot, stay close to the vehicle, try to avoid exertion to slow your perspiration and do not attempt to walk to civilization. You can become dehydrated in a matter of hours. The vehicle is your only shelter for the night and unless you fear your life is in danger never attempt to hike out of your predicament in the dark. Nocturnal animals begin hunting at dark and this includes dangerous reptiles such as snakes. Let rescue personnel find you and make their job easier by staying close to your vehicle. Start a signal fire if there is no chance of creating a forest fire, the smoke can be spotted from miles away.

If you are prepared, you can survive quite easily for three days or longer if you do not panic and begin blundering around out in the heat. Water is your main priority along with having shelter at night, so do not give up your shelter and avoid exertion to prevent heavy sweating.

Backpack for Survival

backpacker

Backpack for Survival

backpacker

Before you can put together a survival backpack, you first need the right backpack. Having the right pack is important because, after all it will contain all the essential items that will keep you alive in a survival situation. Your pack should be water resistant or even waterproof. It should have kidney straps for securing the pack around your waist, along with ample padding. The waist straps will reduce the weight on your shoulders, and transfer it to your hips, and it keeps the pack from banging against your lower back as you walk.

People tend to overload their packs and this is problematic. A few hours along the trail and they have to decide what goes and what stays. They simply cannot handle the weight. Be honest with yourself and realistic. Your bag should be around 50 pounds. You should have about 25lb/11kg of water, and the rest food and gear. Water weighs 8.5lb/3.8kg per gallon and the recommended daily amount per person is one gallon. To lessen the weight on your shoulders and to allow more room for other items use a weight bearing web belt for around your waist. Use canteens that have pouches that can attach to the belt. Have one canteen on each side, and as you use the water from the canteens replenish from the pack. Do not carry water in gallon containers, because this makes the weight distribution difficult.

A note about water, the average adult requires between 2.0 and 2.5 quarts/liters of water daily just to maintain proper hydration levels. In extreme heat, you may require up to one gallon of fluids daily. The one-gallon a day recommendation under normal conditions considers personal hygiene requirements such as sponge baths and oral care. Do not forgo personal hygiene if water is available, this will help prevent illnesses by reducing the spread of bacteria.

Your pack should also have straps either on the top or bottom to attach a sleeping bag, poncho, tarps or a tightly rolled nylon tent. This frees up room inside the pack and distributes the weight evenly. If you do not have, straps use paracord to attach rolled items.

Military issue Alice Pack this pack can hold up to 80 pounds of gear and comes with a metal frame. The pack can be worn with or without the frame. Your pack should have straps and/or buckles on the harness for attaching flashlights, compass, knives, machetes or hatchets.

Pack Essentials

Your priorities are shelter, water, fire and nutrition you cannot survive without these. It is assumed you would have cold weather clothing on if it is cold and if the weather is temperate then add a cold weather coat, gloves and hat for changes in the weather. You will not have enough room to pack to many extra clothes, but you must have extra socks.

Socks will need to be changed quite frequently regardless of the weather. Sweating feet will cause blisters and if your feet become wet, they must be dried as soon as possible to prevent trench foot. Trench foot is a medical condition caused by prolonged exposure to cold wet conditions. If left untreated this condition can cause permanent damage and result in gangrene and amputation. Trench foot is not a result of frostbite. The temperature does not have to be below freezing to develop trench foot.

Water of course is a priority and along with your supply, you should have water purification tablets, and coffee filters so you can collect, filter and purify a water source along the trail.

Avoid canned foods because of the weight, instead consider Meals Ready to Eat (MRE’s). The packages are lightweight and are not easily damaged so they can be packed tight inside the bag. Each meal is roughly 1,220 calories each and the daily recommendation for an adult is two meals a day. You can also carry beef jerky and protein bars. Avoid high sodium and high sugar content foods.
Carry a quality fixed bladed knife many experts will tell you a quality knife is one of the most important items you can carry. You should also have a multi-tool knife.

Make sure you have rain gear such as a poncho and it must be large enough to cover you and your pack when shouldered. A quality poncho can also be used as an emergency shelter. Carry a small nylon tent if you have the room.

Have a sleeping bag, appropriate for the season, and keep it tightly rolled and secured outside the pack. Have two thermal blankets so one can act as a ground cover. Carry one or more nylon tarps that can be rolled tightly and secured outside the pack. Use for emergency shelter or ground cloths.
Carry fire-starting tools such as a magnesium stick, and Ferro rod in addition to matches. Have a camp axe, machete and/or a folding wood saw. Have nylon rope, fishing line and assorted hooks and tackle. Carry 20-24 gauge wire for animal snares, general bindings and gear repair.

Have a first aid kit along with personal hygiene items such as hand sanitizer, bath wipes and oral care items. Carry extra bandanas, sunglasses, flashlight, and personal protection. Consider a collapsible walking stick as well.

Surviving a Forest Fire

forest_fire

Surviving a Forest Fire

forest_fire

Planning is essential to surviving a wildfire. Information is crucial and you must know the dangers in the areas you will be hiking, camping or hunting. Check with your local forest service and know the probability of a forest fire before traveling in a particular area. Chances of a forest fire increase if the temperatures are high and the humidity is low. Find out how much rainfall the area has received to decided if the underbrush is tinder dry or not. These are danger areas if it is a popular spot for campers and hikers because humans are the cause of many forest fires.

Escape

Even though you are careful, with your campfires, others may not be and you could be caught in a forest fire while hiking or camping. Getting ahead of the fire is important by maintaining situational awareness, looking for smoke and smelling the air. If you see or smell smoke, identify the probable location and move in the opposite direction immediately. If you take too long, the fire can encircle you leaving you no escape. Do not get trapped on hilltops, you want to move downhill from any fire because the heat from the inferno will rise and it can be as high as a 1000F/537C. Valleys or canyons can also trap the heat/smoke and either end could be blocked trapping you in the middle.

Open ground with a firebreak between you and the fire is ideal. Firebreaks include logging roads, fire roads or even highways. Water is a safety zone as well, and if you have no other choice get into the middle of the river or stream and as far out as you feel safe in a lake or pond. The fire can of course jump the break but a break will slow the fire down. Areas already burned can be safe if the combustibles have been consumed and if the heat and smoke is tolerable.

When the forest fire hits a firebreak, it may split. The combustibles have been consumed up until this point causing it to move along the break and then possibly jump the break. Depending on the vegetation there may or may not be a safe zone behind the fire.

If you are trapped and the fire is close, get to low ground, such as a ditch or any depression Scoop out a depression if you have to and cover yourself with soil if possible, this is only as a last resort. You want the heated air to pass over you, and if covered with non-combustibles you may have a chance of surviving. Keep your face from the heat and as low as possible. Avoid overhead dangers from falling trees or limbs if you have escaped to an already burned area.

There are shelters specifically designed to reflect up to 95 percent of heat from a forest fire that you can carry with you if you are traveling in a high fire risk area. The shelters provide protection from radiant and convective heat. Several models have an optional travel pack that will attach to the bottom of your backpack for easy carrying.

Common Survival and Preparation Mistakes

Common Survival and Preparation Mistakes

Common Survival and Preparation Mistakes

Common Survival and Preparation Mistakes

Over packing, it sounds counterproductive because logic dictates you can never have too much, but you can have too much when it comes to preparing for survival. It is all about priorities. In some peoples’ minds, they assume they need what is currently in their home to survive away from home, which is impossible of course. If forced to evacuate you may only have what you can carry in a backpack or if you are fortunate, enough to be able to escape in a vehicle you have more options but the big screen television is not one of the options. There are things essential to your survival and there are the things you only think are essential.

Wilderness Survival Kits

People typically over pack and thus begin to leave their survival kit behind because it becomes burdensome.

Some may be confused and rightly so about what a survival kit is. Some believe you must have enough food and water in one to survive forever and will pack and pack until they cannot even shoulder the bag. A survival kit is designed to provide you the tools and materials to collect and purify water, hunt and fish for food and to build a shelter. It is not designed for you to carry all of the food and water you may need and it provides the tools to build a shelter were ever you might be stranded. Your kit is designed to take over if you become lost or stranded and the supplies you packed for the time you expected to be hiking or camping are depleted.

Stockpiling Supplies At Home

The wrong type of foods and containers.

There are situations where you may have to evacuate your home. You will need supplies for the trip and for when you arrive at a destination. People tend to believe they will always have their home to live in during a crisis and do not prepare for the possibility of leaving. To prepare for any situation you would need foods that can be packed and carried on your back. Some preppers have safe areas they plan to escape to using vehicles, but vehicles break down and safe houses or areas can be destroyed or even taken over by others. Keep in mind all foods must be such that they can literally be eaten from the can or package. You may not have time or the resources to start a fire and prepare foods such as dehydrated ones.
Prepare, for sheltering in place and prepare for the possibility of sheltering in the wilderness because your current location has become hostile. Home canning is ideal for long term survival but glass jars are not ideal for carrying in a backpack and dehydrated foods require water and preparations so have a variety of foods to suit whatever action you must take. Do not make any assumptions, you must plan and prepare for all possibilities.

Some may brag about how well prepared they are and encourage others to do the same

It is important that everyone prepare so everyone can survive and not be a burden to others but some will not prepare for whatever reason. The ones that did not prepare will be looking for those that did, some will ask for help and others out of desperation may try to take what they need. Do not advertise you are prepared because you will become a target once disaster strikes.

Putting all of your supplies in one place.

Having all of your supplies in one place is not ideal. You may be robbed and lose all of your supplies, you may have a fire or the disaster itself may damage your home. Cache supplies even if it is in the backyard in the ground or in a secure shed. Bury them in various locations so if you do have to evacuate you can supply or resupply as you move out. Cache provisions along the evacuation routes, making sure you have alternative routes mapped out with supplies cached along those as well.

Recommended Items

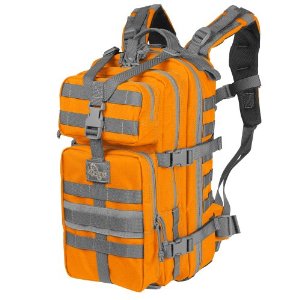
Maxpedition Falcon-II Backpack

Maxpedition Falcon-II Backpack

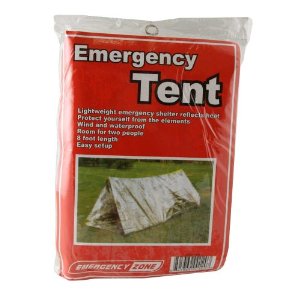
Emergency Shelter Tent

Emergency Tent
Emergency Tent

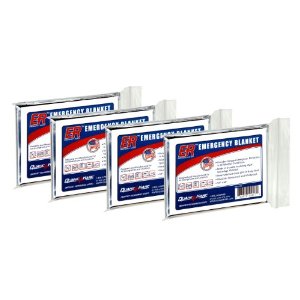
Emergency Blankets

Emergency Blankets
Emergency Blankets

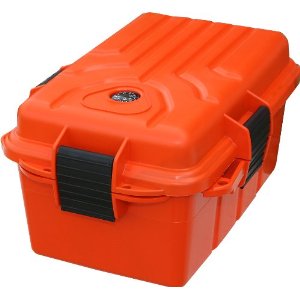
MTM Survivor Dry Box

MTM Survivor Dry Box

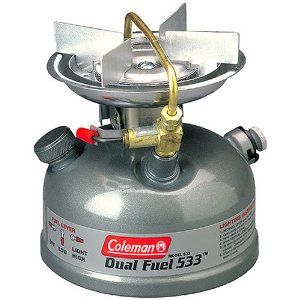
Coleman Stove

Coleman Stove
Coleman Stove

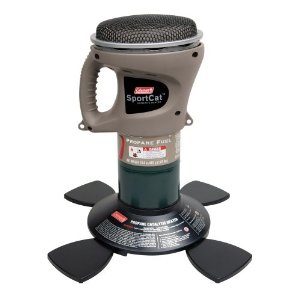
Coleman Heater

Coleman Heater
Coleman Heater

Emergency Drinking Water

Emergency Drinking Water

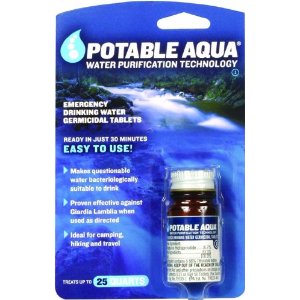
Water Purification Tablets

Water Purification Tablets

Fresh Bath Body Wipes

Fresh Bath Body Wipes

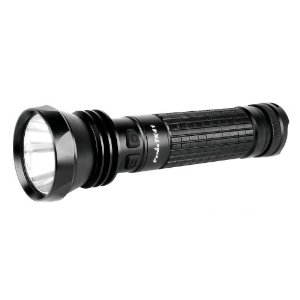
Fenix Flashlight

Fenix Flashlight
Fenix Flashlight

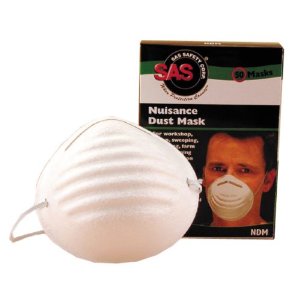
Dust Masks

Dust Masks
Dust Masks

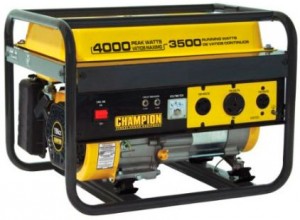
Champion Power Generator

Champion Power Generator