Snap, the power is out. What do I do now; how do I survive this blackout?
How To Survive Blackout?


Snap, the power is out. What do I do now; how do I survive this blackout?
“It is not the strongest or the most intelligent who will survive but those who can best manage change.”
― Leon C. Megginson
What is Bushcraft? Bushcraft is a skill that is used and needed by people to survive and even thrive in the wild. This skill however isn’t going to be learned by reading books or watching documentaries (although it will help) but by experience and mistakes. Learning bushcraft will require not only determination, patience, or time but also skills and quick wits. Being the strongest doesn’t always means the one who survives but being smart will increase your chance.
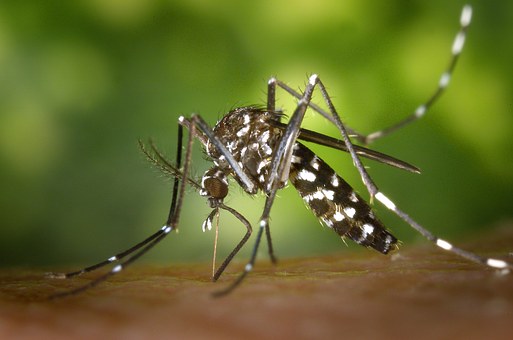

Mosquitos exist virtually everywhere in the world. If you have mosquitos in your home or around the outside of your home, you don’t necessarily have to call an exterminator or purchase some expensive mosquito traps from the home improvement store. Instead, you can create your own home mosquito traps using very simple materials that you probably already have in your home.
The most common homemade mosquito trap involves the use of a 2-liter plastic bottle, 1 gram of yeast, ¼ cup of brown sugar, and 1 cup of water. First, take a knife or scissors and cut the plastic bottle completely in half. Take the brown sugar and mix it in a bowl of hot water. Let the mixture cool off for a few minutes. When it becomes cold, place all the mixture into the bottle’s bottom half that you cut off and then add yeast to it. You don’t have to mix the yeast, though. This is just used to attract mosquitos to the trap. Next, take the upper half of the bottle and place the funnel inside of it, then flip the upper half upside down. Tape the funnel to the bottle to secure it better. With the open lid facing down, place the upper half of the bottle into the bottom half. Finally, place black tape around the bottle to further attract mosquitos to it and place the trap in an area where you want to trap them. Once the mosquitoes get inside the trap, they won’t be able to get out. Make sure to use extra masking tape to seal the cracks off and prevent them from escaping.
The plastic bottle method is a very popular homemade mosquito method. Normally, you would just place the bottle on the ground and let the mosquitoes fly into them. However, you can modify the original method and create a hanging mosquito trap as well. This is useful for people who live in upper floor apartment buildings or who have mosquito problems high up from the ground. All you have to do is cut a hole on each side of the bottom half of the plastic bottle. Make sure the holes are closer to the upper edge, preferably underneath the tape. Then place one end of a 3-4-foot cord into the hole and tie it off. Do the same thing with the other end of the cord on the other hole. Now hang the middle of the cord onto a hook or mount that you have. Alternatively, you can tape the cord to the bottle rather than cut holes.
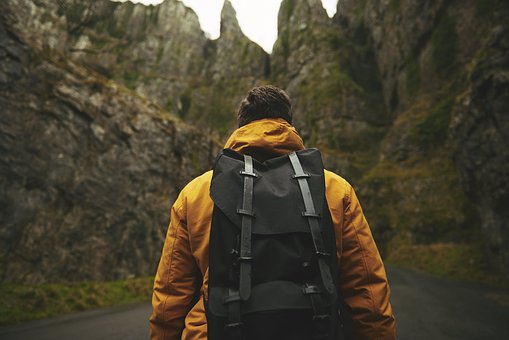
A bug out bag is a survival kit that should pack with all the essential items necessary for surviving up to 72-hours on your own. These bags could be used when faced with a natural disaster or when you’re stuck somewhere far away from civilization and modern resources. Some of the contents you place in the bag may be different than what others would put in there.

However, there are some common items that everyone should place in their bug out bag, such as food and water. As human beings, we cannot survive without food and water so you would definitely want to have a 3-day supply of this available. Pack non-perishable foods into the bug out bag, preferably bagged rations because they are lighter weight than canned foods. For water, you should plan on drinking 2 liters per day so pack 6 liters of water in plastic bottles. If you think you’ll need more to drink, take some water purification tablets with you to purify any water that you find in the wild.
The next most important thing to pack in a bug out bag is a medical kit. If you end up getting scraped or cut up, you’ll want to be able to treat the wound and prevent an infection. Remember there are no doctors in a survival situation so you’ll have to treat yourself. Next, you’ll want to have maps, batteries, a flashlight, compass, hand-cranked radio, toothpaste, toothbrush, a poncho, a hat, and a Swiss army knife. These items will take care of most of your personal needs and will assist you in finding your way to safety.
Since survival situations can be quite dangerous, you may want to consider placing a handgun into your bug out bag. It doesn’t matter if you’re stuck in the woods or simply facing the aftermath of a disaster in your neighborhood. You may need a handgun to protect your life or defend your property in the event of a disaster. If your bug out bag is big enough, you could pack a shotgun in there too or at least strap it to the side and then put extra ammo on the inside. But if you’re the type of person who doesn’t like guns, then consider a survival-style knife instead. The Marine Rader Bowie is one knife made in Canada that can cut through almost anything, even something that’s trying to hurt you.

Cattails are plants that typically grow in wetlands and have a flowering spike to them. If you’re ever trapped in the wilderness, then you’re definitely going to come across these plants. To someone with no survival skills, cattails may seem like any other plant you’d find in the woods. But the truth is that cattails can actually help you survive if you’re limited on resources.

The most basic benefit of cattails is using them for food. Believe it or not, their stems grow a couple of inches over the soil during the warmer months of the year. These stems are quite tender which means they can be peeled and then eaten. You can eat them raw if you don’t have a means of cooking them. Otherwise, boiling the stems will make them easier to chew and digest. The heads of the cattails can also be eaten the same way too. Now if you’re in the wild during the late summer and early fall, then pollen will build up on the cattails’ heads which can be used to make sauces. Any other time of the year, you can dig up the roots of the cattails and soak them in water. This will cause starch to be released from them which you can use with a little bit of pollen to make bread.
If you need a roof for your shelter, you can cut up the cattails and weave them together to form squares which resemble shingles. Place these squares on the roof of your makeshift shelter and it will protect you from wind, snow, and rain that may occur. If you’re weaving skills are really good, you can create a sleeping mat or baskets with them too. Baskets can be used to carry food and supplies with you as you travel throughout the wilderness looking for sanctuary. And if you need to start a fire to cook food or keep warm, cattails are a fine substitute for wood when starting a fire.
Lastly, cattails can be turned into medicinal treatments for burns, insect bites, bruises, and scrapes. All you must do is cut open the root of the cattail plant and lightly bruise the portion of it that’s exposed. Then place it over the injury and leave it there for a few minutes. It is not a miracle treatment, but it does have antiseptic properties that will prevent your injury from getting infected.
Emergency Crank Radio for preppers. As seen in survival movies.
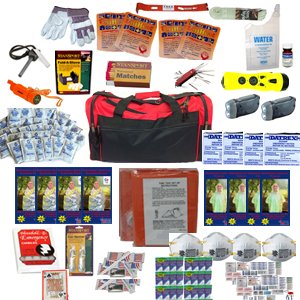
Black Friday will be on Friday, 25th November 2016. Here is list of the best Black Friday deals for preppers!
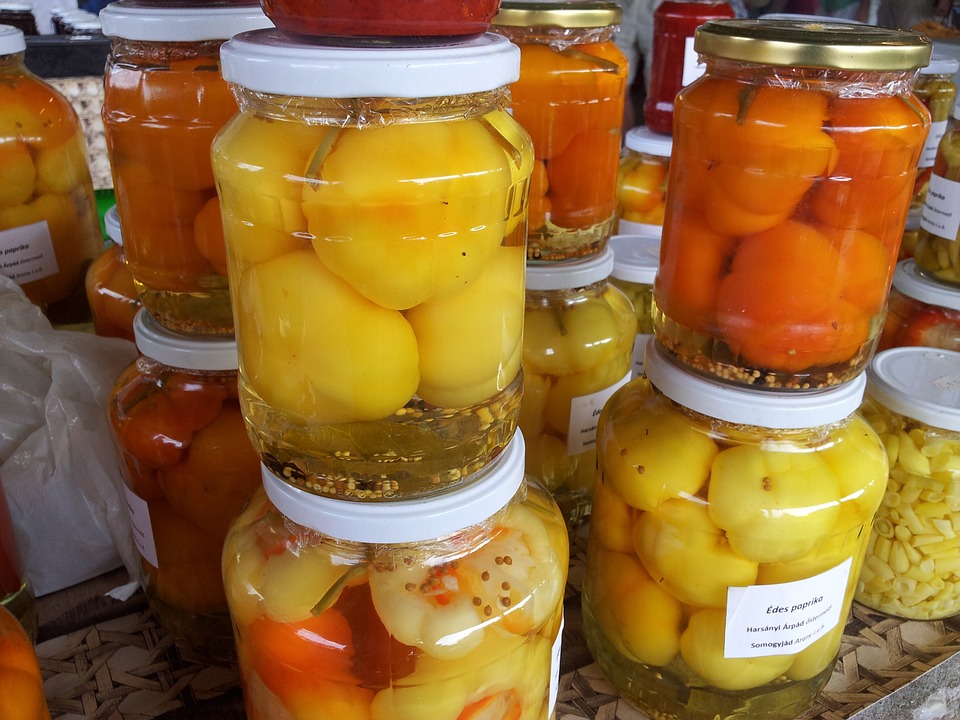
Food preservation is something many people take for granted because they are not involved in the actual preservation process. It is easy to go to the store and purchase freeze dried fruits or canned meats. But what if you had to preserve food yourself? The three most popular food preservation methods are freezing, drying, and canning. Not only are these effective methods, but they are cheap methods as well.

The reason food spoils in the first place is due to microorganisms that get on the food as it sits for extended periods of time in the open air. During the canning process, food is placed into a jar and then heated. The heat kills any existing microorganisms on the food and then air is forced from the jar with a vacuum before it is sealed. That way no other air from the outside can make contact with the food and expose it to more microorganisms. Canned foods can typically last for a couple of years.
Freezing food is another popular food preservation method. Of course, it won’t do you much good if you have a power outage because your freezer won’t be able to stay cold anymore. But if you are preserving food before an outage, a freezer is the easiest way to go. All you have to do is purchase fruits, meat, vegetables, desserts or whatever else you want to preserve while they’re still fresh. Take them home and immediately package them securely with plastic wrap. It is very important the foods are sealed to the point where the outside air cannot get through to them. Now place the packaged food in the freezer at 0 degrees and leave it there. Make sure the temperature stays at a freezing level without any fluctuation.
Now the oldest method of food preservation is drying the food. With an electric dehydrator, you can simply remove all of the moisture from the food with a temperature that is just hot enough to dry it and not cook it. In the old days, people would dry food out under the sun or in their oven. But an electric dehydrator creates a very precise temperature so that you can dry the food properly.
As you can see, food preservation is a lot easier than you probably thought. You should always have some food preserved around your house in case disaster strikes. The best part about preserving your own food is that you get to choose which foods you want to preserve. They may not taste fresh when you eat them, but they will be edible and they may possibly even save your life.
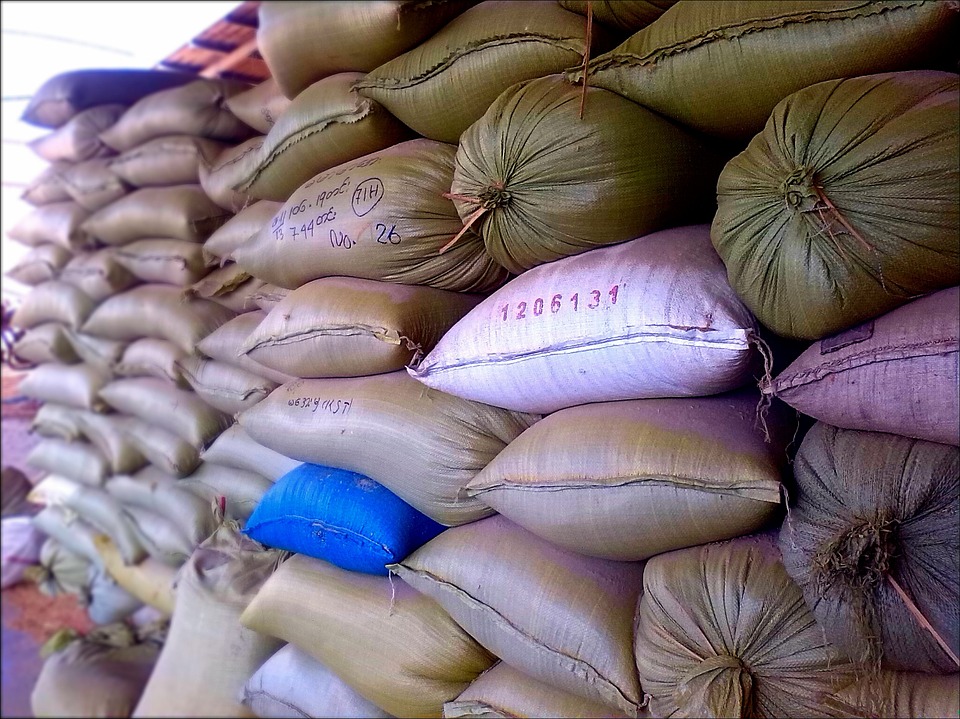
Food storage is a practice that many people should partake in, especially if you live in an area which is prone to dangerous storms and power outages. In most natural disasters, all of the nearby supermarkets will be out of food which means you can only rely on the food that you have stored away. This won’t be the most pleasant tasting food either so try not to be too picky about the taste. The majority of the food you store will be canned food because it will last for a long time. You should also purchase freeze dried fruits and vegetables because they contain no moisture and can last for many years.

The typical person will just store food in their kitchen cabinet. But you want to have more food stored around the house just in case. One popular area to store food is underneath your bed. Just get a box or a bucket and place all of your preserved food in it. Then if you’re in your bedroom when disaster strikes, you will have food available to you right away. For those who have staircases in their homes, there should be plenty of space to store food underneath the staircase. Other places include the garage, attic, and even a shed in your backyard. Some people who are really worried about disaster will turn their shed into a small pantry. If you have a basement then you can turn that into a pantry as well. Some people even build extra shelves in their kitchen and living room that are up high near the ceiling. Then they just store all of their preserved food on these shelves and only use them in emergencies.
Aside from canned and freeze dried foods; you should also store white rice, honey, grains, and MREs. You could purchase huge bags of white rice right from the farm and place them in a room temperature environment for up to 30 years and it will stay good. White rice is cheap and will give you lots of calories and carbohydrates per serving. Honey is another food source that can literally last forever. Due to its low moisture content, it does not go bad since microorganisms are not attracted to foods with little moisture. Grains such as oats, rye, and quinoa should last for about 8 years as long as they are sealed in an airtight container and placed in a room that stays around 70 degrees. As for MREs, these are “meals ready to eat” that are usually given to soldiers in the military. They are basically like rations which can last for up to 10 years in a cool environment.
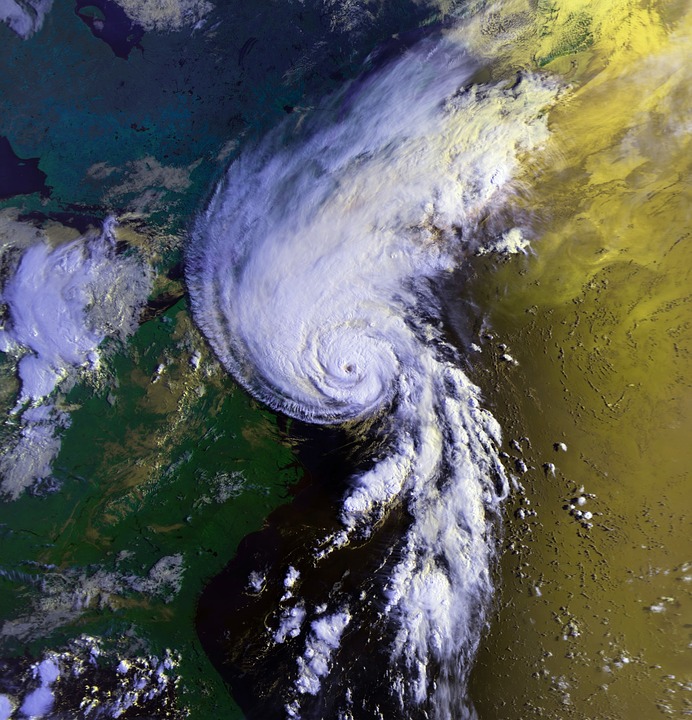

GETTING YOURSELF AND PROPERTY READY FOR A HURRICANE
Once you know a storm is headed your way, this is not the ideal time to begin preparations. You should expect seasonal storms and you should be preparing in the months and weeks leading up to the storm season. Trying to purchase supplies and materials within the hours before the disaster strikes can be an economic burden and it may mean you cannot get what you need because the stores have run out of supplies.
THE ESSENTIALS
Look to your home and do what you can to secure it by covering windows and in particular sliding glass doors. Flying glass and other debris causes the majority of injuries during disasters. Make sure outdoor furniture is secured or moved inside to prevent loss, and to keep it from flying into your home causing damage. Rising floodwaters can be gradual or in the case of Hurricane Sandy, homes can be underwater in a matter of minutes. Even if you relocated to the upper floors, your home may be swept off its foundation. Have emergency supplies packed in backpacks so they can be carried easily. That way if you do lose your home to floodwaters or you have to evacuate then you can erect temporary shelters. Make sure you know how to shut your main gas line off at the meter and that you have the proper tools.
1. Having tents and tarps for emergency shelter is important, along with propane heaters and camp stoves for heating food. Have at a minimum one week of food and fuel for heaters and cooking stoves. You cannot rely on natural gas supplied by your local utility company; you must have portable gas bottles of propane.
2. Your water supply can become contaminated or stop all together even if it is supplied by a water treatment plant and any surface water can be contaminated by seawater because of storm surges. You should have a week’s supply of drinking water and water for sponge baths and oral hygiene. One gallon per person daily will cover hydration needs as well as personal hygiene.
3. Use body wipes that are especially for bathing without water to conserve drinking water.
4. Use hand sanitizer because regardless of the situation, you will need to prevent the spread of harmful bacteria.
5. Matches, candles, flashlights and bottled gas/oil operated lanterns for illumination.
6. Battery operated radio.
7. Clothing, thermal blankets, work gloves and proper footwear to protect your feet from storm debris along with cold weather clothing if applicable. Once you realize a storm is coming, make sure everyone stays fully dressed in the event that you must evacuate in a hurry.
8. Have cash and change on hand because you will not be able to access ATM’s or banks.
9. Make sure all of your important documents are packed in a waterproof container and that you can carry the documents with you. You will need insurance paperwork, deeds, mortgage agreements and lease or rental agreements.
10. Make sure your car is fueled up and that you have extra fuel for generators stored safely.
11. Insect repellent and/or netting for controlling insects if applicable.
12. Personal hygiene items
13. Dust masks
14. You should have tools and materials to make emergency repairs to your home, such as tarps and sheets of plywood. Include shovels, rope, brooms, axes and sledgehammers for emergency extraction or rescue of others.
Make sure you visit the website to determine your storm surge risk. If flooding is likely, then you may very well want to evacuate early. Make sure you know where any emergency shelters are located and you know the evacuate routes out of your city or community. Once again, make sure your supplies are transportable by packing them in backpacks. This also makes it easier to keep the supplies close to prevent them from being washed away or damaged. You will need your emergency supplies whether you evacuate or go to a shelter. It may be days before disaster relief agencies are on the ground and distributing emergency supplies.
Read also: Preppers Must Have List